Tuesday, February 22, 2011

Powder Room Paradise: Not Your Grandma's Wallpaper

We used the long weekend to finish our powder room and it's finally done! Check out the photo gallery below. I will let our Orla Kiely-esk style powder room do the talking...

Before & After...
Before: doors removed moments earlier


After: Kohler + leafy love wallpaper = Paradise
How did we do it?


Finding lighting on Ebay (original Le Klint light)
Still in shock we found original Le Klint lamps for a fraction of the original cost
Using products we already had - extra flooring and baseboards from doing our floors when we moved in
Finding a shaker-style vanity with marble sink counter  ON SALE at Home Depot 

Alex nailing in baseboards - finishing nails and nailset


Installing new PVC pipes to connect the drain to the sink, about $9.00 at our local hardware store where nothing is labeled


IKEA Stave square white mirror to match the white marble sink counter


Wellworth toilet from Kohler - the bold look
Purchasing the most modern 4-inch centerset faucet we could find for under $70 (faucets are pricey!)
And...having a fabulous, hardworking husband who's willing to handle the work while I handle the design

And...having a helpful dad willing to bring over his miter saw to help us make 45 degree cuts on our baseboards and help my husband install our sink!

Sunday, February 20, 2011

Wallpaper Wonderland

Our gorgeous leafy wallpaper arrived on time and we reserved Saturday to install it. I've watched my mom hang wallpaper several times but have never done it myself. As with all our DIY projects, we went to YouTube to check our some how-to videos. Lowes and HomeServe have some information videos I recommend watching to help you prepare for hanging wallpaper. Plus, the HomeServe video is narrated by some British guy so the audio is pleasant.

At first attempt, wallpapering is must harder than I thought. But having the right tools, properly prepping and staying patient was key to completing a pretty darn nice wallpaper job in our powder room. Here's how I did and what I learned:

Tools: Sandpaper, Paper towels, Tape measure, Scissors, Utility knife, Straight edge, Wallpaper brush, Level, Pencil, Sponge, Step ladder, Gladware container (for water), Bathtub or Wallpaper water tray.

1. Prep Walls:
- Using fine grain sandpaper, sand the walls so they are smooth and free of bumps. Wipe down to remove the drywall dust that resulted from the sanding.
- Do any painting before installing the wallpaper
For our powder room, we painted two walls and wallpapered two walls.

My husband painted the heart :)


2. Measure, Add 6 and Cut:
- Measure your walls, add six inches to the measurement and cut your wallpaper (I recommend the extra six inches to allow for matching the wallpaper pattern - boy, did we need it!!)
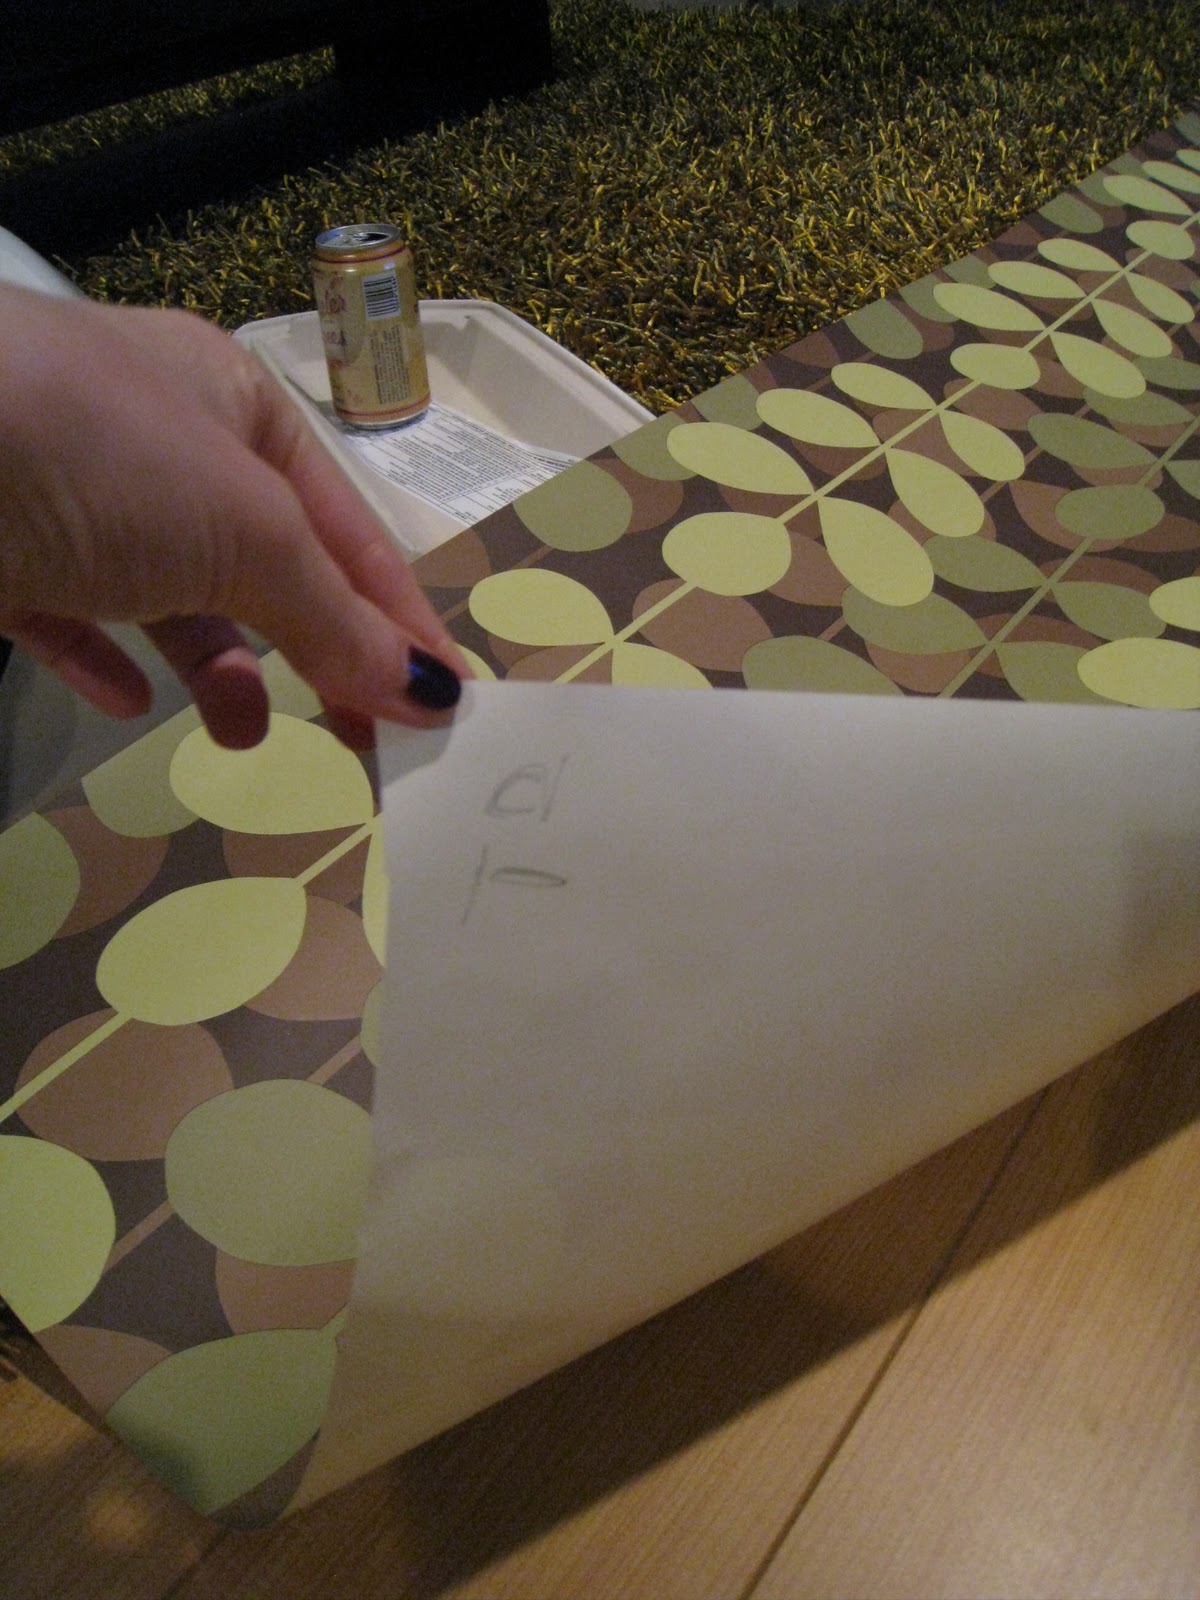
3. Match Up:
Cut your first three strips and match the patterns. Label the top of each strip with T1, T2, T3... It is hard to tell which is top when the paper is wet and folded)
Matching patterns

Labeling top of strip
4. Plum Line:
Draw a "plum line" on your wall using a pencil and level. This is a straight line from top to bottom, which will act as the guide for your first strip of wallpaper. This is REALLY IMPORTANT. Take your time, use the level and draw this line straight...all the rest of your wallpaper will be based on this first strip.
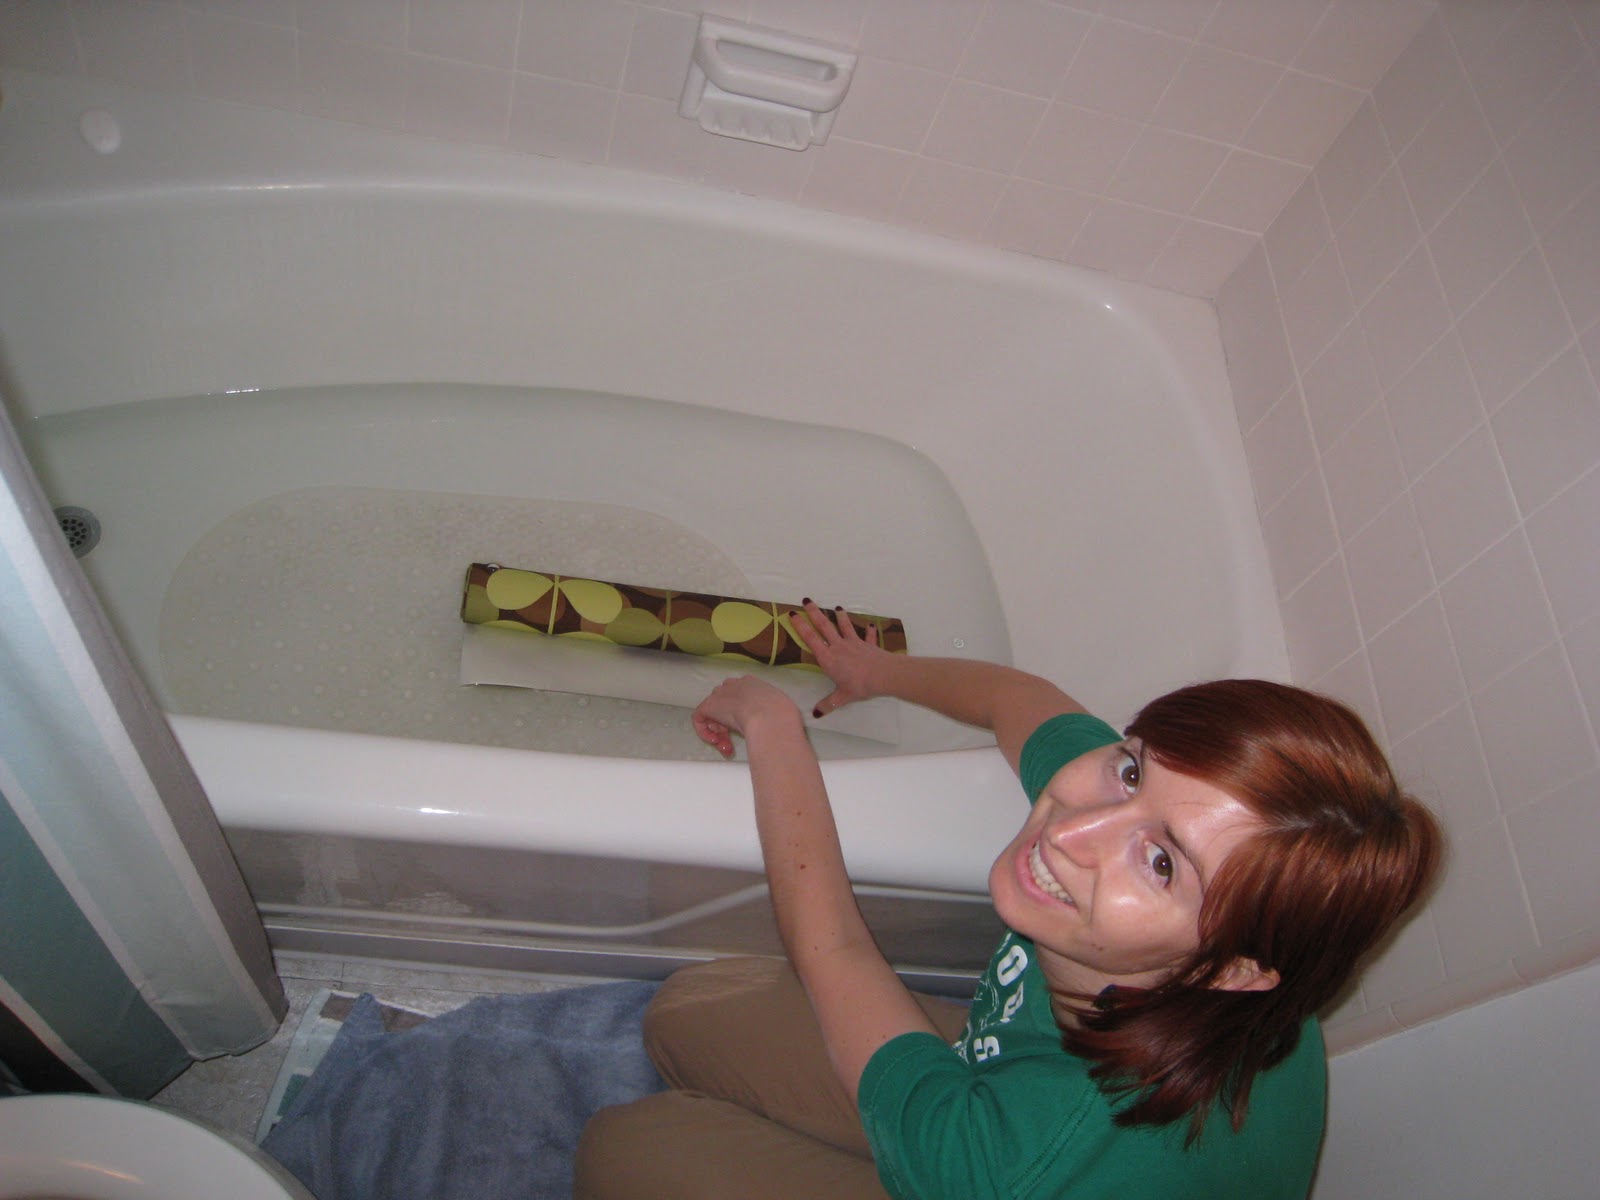
5. Wet Wallpaper: 
Read the directions that come with your wallpaper to understand soaking times for that product. I used my bathtub. Lay towels on floor near tub. Fill tub with water. Loosely roll strip one. Submerge in water for 10 - 30 secs, until completely wet. With the roll towards you, slowly unroll wet paper, letting excess water drip into tub. Carefully pull paper over towels, fold like a book, paste-side to paste-side. Let sit for three to four minutes so paste can develop (per my wallpaper's directions). Be patient. This step is important.
Unfolds towards you

soak 30 secs until completely wet

Slowly unroll towards you, let water drip off


Pull from tub over towels

place on towels, fold paste-side to paste-side

like a book

let sit while paste develops
6. Hang First Piece:
Take book with topside towards your body, holding the top, let gravity start to unpeel wallpaper. Place on wall using Plum Line as your guide. Work from the top, use brush to smooth from center to sides, continue to match next to plum line, work your way down, until the entire strip looks set, matches plum line and is smooth.
 smooth the top first, then smooth middle...

...then smooth bottom


7. Tidy Up:
Using the straight edge and utility knife, trim the wallpaper to ceiling, use wet sponge to smooth wallpaper, wipe any excess paste off the wall near the edge and the ceiling.

8. Continue steps:
Make sure to grab the correct next strip (look at the numbering adding at the top), continue to hang, matching patterns, smoothing, working from top down to the bottom, then tidying up with the sponge, trimming the ceiling edges with utility knife.

Note: For my second wall, I started with a Plum Line to make sure that wall matched up.

Wall one done; now onto wall two
Beer seems to help 

Voila!!!!

I know, amazing, right?


Tuesday, February 15, 2011

The little story of the three vanities (like the three bears)

We traveled to Ikea where all the bathroom vanities were either too BIG or too SMALL. Ending up at Home Depot, only because it stays open until 10 p.m. Sunday, we find a vanity that is just RIGHT.
Planning to add more modern looking Ikea handles


.
Selected this modern leave wallpaper (from The Wallpaper Company) in brown, moss green and lime green
We will purchase the vanity tonight and the wallpaper should arrive on Saturday. Check back this weekend for updated action photos!

Powder Room Makeover

All of our three bathrooms are circa 1965...vintage one might say. We have decided to tackle the easiest of the three -The Powder Room. And like all projects which you read about online, watch DIY YouTube videos about and appear to be simple, we encountered challenges at the very start:

Q) how to turn off the water using old stubborn values? a) call the plumber (after calling my dad). Turns out our hot and cold water valves are so ancient, they no longer turn off the water or turned at all.  Quick valve removal and replacement, and we are back in business.
Don't be fooled by their shinny facade, these valves are stubborn and evil!


Starting to breakdown the vanity. Bye bye doors (which I spent so much time painting a year ago)

Mirror off and resting in my patio. Anyone need a mirror?

Stamp on the back of the mirror which reads: April 28, 1965. I feel some guilt about removing this perfectly intact 46 year old mirror, which lived through several earthquakes (San Fernando '71, Whittier '87 and Northridge 94) still reflecting. To honor its birth, let's highlight what happened the day this mirror was born (installed)
Barbara Streisand stars on "My Name is Barbara" special on CBS
- Lindsey Nelson broadcasts game at Astrodome from a hanging gondola
- US marines invade Dominican Republic, stay until October 1966
Back splash pried off...

Removing the vanity counter top - really heavy

My husband breaking down the well-built vanity piece-by-piece


Now to filling in the floor since the vanity is gone. Luckily we have extra flooring and extra sub floor padding

Piece by piece

Demo completed!!!!

The Reproduction Has Arrived!!

After borrowing our friend Steve's Jeep, we drove to a colorful part of industrial Hawthorne to pick up our reproduction Eames Chair. Once we got it home, it needed a splash of color so I was forced to buy a new throw pillow at CB2.com in Santa Monica....all before noon!

Wednesday, February 9, 2011

Reproduction is a fancy term for knock-off

We finally did it! Ordered our knock off, I mean, reproduction Eames Lounge chair. And although we are not huge leather fans, we think the classic black leather motif will be great in our living room on our new rug. We will pick it up Saturday. Check back this weekend for photos of the real deal in our place!